Call Now
How to Configure Family Tree Maker Software After Installation
If you’ve just installed Family Tree Maker on your computer, you’re probably eager to dive into building your family history. But knowing how to configure Family Tree Maker software right after installation can make all the difference in getting a seamless start.
Preparing Your System Before the First Launch
Before you jump into how to configure Family Tree Maker software right after installation, ensure your computer meets the requirements. Family Tree Maker works on both Windows and Mac, but check for the latest updates on your operating system. If you’re coming from an older version like FTM 2019, back up your existing files to prevent any loss during the transition. This step is crucial because compacting or merging individuals in your tree could lead to unintended duplicates if not handled carefully from the outset.
Once installed, locate the program icon on your desktop or in your applications folder. Double-click to open it, and you’ll be greeted by a welcome screen. Here, you’ll have options to create a new tree or import an existing one. If this is your first time, opt for a new tree to familiarize yourself with the interface.
Signing In and Connecting to Online Services
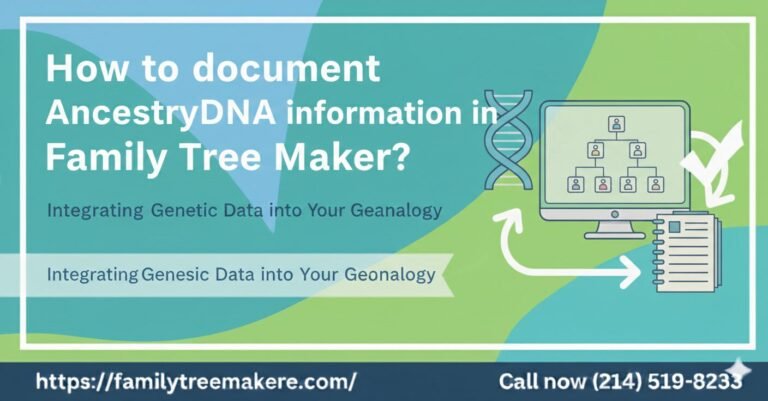
A key part of how to configure Family Tree Maker software right after installation involves linking it to online genealogy platforms. The software integrates seamlessly with Ancestry.com and FamilySearch.org, which can pull in hints and records to enrich your tree.
Start by clicking on the “Sign In” button in the top menu. If you have an Ancestry account, enter your credentials. This allows for syncing your tree with Ancestry’s vast database, making it easier to add historical documents and photos. Similarly, connect to FamilySearch for free access to additional records. Remember, if you’re dealing with large trees, this initial sync might take a few minutes—patience is key to avoid errors like those from compacting or merging individuals prematurely.
Customizing Settings for Optimal Performance
Now that you’re logged in, it’s time to tweak the settings. Go to the “Tools” menu and select “Options” or “Preferences,” depending on your version. Here, you can adjust privacy settings, choose your preferred date format (like DD/MM/YYYY for international users), and set up automatic backups.
One often-overlooked aspect is the media management settings. Family Tree Maker can handle photos, scans, and documents, but configuring the file paths early on prevents broken links later. If your tree grows large, consider enabling the compact file feature under the “File” menu—this reduces file size by removing unused data, but use it sparingly to avoid issues with merging individuals.
Building or Importing Your First Family Tree
With the basics configured, let’s get to the heart of your genealogy project. If starting fresh, click “New Tree” and enter your own details as the home person. Add parents, siblings, and spouses by clicking the “+” icons—it’s intuitive and fun.
If you have an existing GEDCOM file from another program, import it via “File > Open” or “Import.” Family Tree Maker supports most formats, but double-check for compatibility. After importing, review for duplicates; the software has a built-in merge tool under “People > Find Duplicates.” This is important because compacting or merging individuals incorrectly can scramble relationships, leading to hours of cleanup.
Add sources to your entries right away—citing where you got your information builds a reliable tree. Use the “Sources” tab to link web pages, books, or personal notes.
Syncing and Backing Up Your Data
No guide on how to configure Family Tree Maker software right after installation would be complete without covering syncing and backups. If connected to Ancestry, use the “Sync” button to upload your tree to the cloud. This feature, called TreeVault in newer versions, provides automatic backups and access from multiple devices.
Set up a backup schedule in the preferences—weekly is a good start. Store backups on an external drive or cloud service like Google Drive for redundancy. If you’re collaborating with relatives, share your tree via email or Ancestry invites, but control permissions to prevent unwanted changes.
In case of large trees, compacting the file periodically (found in “File > Compact File”) can help, but always back up first. Merging individuals should only be done after verifying matches to maintain accuracy.
Troubleshooting Common Setup Issues
Even with careful configuration, you might hit snags. If the software crashes on launch, check for updates via “Help > Check for Updates.” Compatibility mode on Windows can resolve issues with older versions.
If syncing fails, ensure your internet is stable and firewall isn’t blocking the app. For duplicate problems arising from compacting or merging individuals, use the undo feature immediately or restore from a backup.
Advanced Tips for Long-Term Use
Once you’re comfortable, explore advanced features like charting. Under “Publish,” create beautiful family charts or reports. Integrate with third-party tools for DNA matching if you have test results.
Regularly update your software to access new features, like enhanced AI hints for record matching. And remember, genealogy is iterative—revisit your setup as your tree evolves.
For more information please do contact us.