Call Now
How to Transfer FTM to New Computer: A Comprehensive Guide for Veteran Users
If you’ve been using Family Tree Maker (FTM) for several years, your family history database likely holds invaluable data, from ancestral records to multimedia attachments. Upgrading to a new machine doesn’t mean starting over—learning how to transfer FTM to new computer is essential for maintaining continuity. This article provides a unique, step-by-step approach tailored for long-time users, helping you avoid common pitfalls and ensure all your hard-earned information transfers securely.
Whether you’re dealing with an older version like FTM 2017 or the latest edition, the process revolves around backing up your tree files, moving them via external storage, and setting up on the new device. By following these instructions, you can transfer FTM to new computer without data loss or compatibility issues.
Understanding FTM and Why Migration Matters
Family Tree Maker is a robust genealogy software that allows users to build, organize, and share family histories. Over years of use, your FTM files can grow large, incorporating photos, documents, and notes. When switching computers, simply reinstalling the software isn’t enough—you must transfer FTM to new computer along with your specific tree data to keep everything intact.
Failing to do this properly could result in corrupted files or lost media links. For veteran users, this migration is crucial to preserve the depth of research accumulated over time.
Preparing to Transfer FTM to New Computer
Before diving into the transfer, preparation is key. Start on your old computer:
- Update Your Software: Ensure FTM is up to date. Go to the Help menu and check for updates. This minimizes compatibility problems when you transfer FTM to new computer.
- Backup Your Tree: In FTM, open your family tree and select File > Backup. Choose a full backup, including media files, and save it as an .ftmb file. Name it clearly, like “FamilyTreeBackup2025.ftmb,” for easy identification.
- Locate All Files: FTM stores trees in a default folder (usually Documents > Family Tree Maker). Also, check for any linked media in separate directories to include them in your transfer.
This prep work sets a solid foundation, making the actual move smoother.
Step-by-Step: How to Transfer FTM to New Computer
Here’s the core process to transfer FTM to new computer. We’ll use a USB flash drive for simplicity, but cloud storage like Google Drive or an external hard drive works too if your files are oversized.
Step 1: Copy Files from the Old Computer
- Insert your USB drive into the old computer.
- Navigate to your FTM backup file and any associated media folders.
- Right-click and copy them to the USB. For large files, this might take a few minutes—patience is vital for long-time accumulations.
Step 2: Install FTM on the New Computer
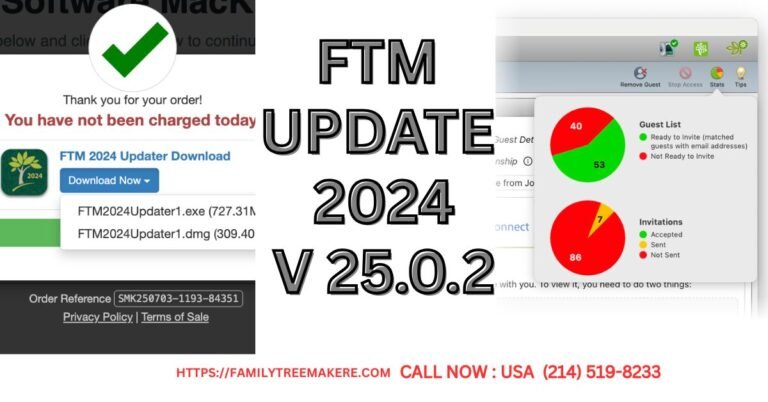
- Download the latest FTM version from the official Mackiev website (makers of FTM since 2016).
- Install it, following the on-screen prompts. If you have a license key from your years of use, enter it during setup. Note: Newer versions allow installations on multiple personal computers, but deactivate on the old one if needed via the Help > Deactivate menu.
Step 3: Transfer and Restore on the New Machine
- Plug the USB into the new computer.
- Copy the .ftmb backup file to a local folder, such as Documents > Family Tree Maker.
- Open FTM, go to File > Restore, and select your backup. The software will reconstruct your tree, re-linking media if included in the backup.
If you’re transferring multiple trees, repeat for each. Test by opening sources and media to confirm everything transferred correctly.
Common Challenges When You Transfer FTM to New Computer
Long-time users might encounter hurdles like version mismatches or large file sizes. If your FTM is pre-2017, consider using the File Migration Utility from Mackiev’s support site to convert files for newer systems.
Another issue: License activation. If prompted, contact Mackiev support with your original purchase details—they often assist veteran users.
For media-heavy trees, ensure the new computer has ample storage. Compressing folders before transfer can help, but always unzip fully before restoring.
Tips for Optimizing After Transfer
Once you’ve successfully transferred FTM to new computer, optimize for performance:
- Sync with Online Services: If linked to Ancestry.com, reauthorize in FTM to pull in updates.
- Regular Backups: Set up automatic backups to an external drive or cloud to prevent future migration stress.
- Explore New Features: Newer FTM versions offer enhanced charting and DNA integration—dive in to enhance your years of data.
Conclusion
Transferring FTM to new computer is a manageable task that safeguards your genealogy legacy. By backing up thoroughly, using reliable transfer methods, and verifying post-migration, you’ll continue building on your extensive work seamlessly. If issues arise, Mackiev’s knowledge base or community forums provide additional tailored advice. With this guide, you’re equipped to handle the switch confidently, keeping your family history alive on your new setup.
contact at (214) 519-8233 for further support


